Overview
This procedure covers best practices for modifying and scheduling recurring BusinessObjects financials reports with multiple queries and multiple query filters — especially query filters on Fiscal Year and Accounting Period. It includes:
- Create a New Filtering Query
- Reference the New Query with Query on Query
- Use the Calendar to Schedule A Recurring Report
This procedure uses the CMB Department Reconciler Report as an example. The report has been copied from the UM-Maintained folder to Personal Folders. It will be scheduled to run monthly for the current fiscal year and the previous accounting period.
Note: This procedures assumes you understand how to create and work with queries and query filters. For more information on these tasks, see BusinessObjects: Create a Query.
Step-by-Step Process
Create a New Filtering Query
The first step is to create a new filtering query that pulls only the Current Fiscal Year and Previous Accounting Period. Verify report is in Design mode.
- Click Edit
 in the Query section of the toolbar.
 - Click Add Query.
- Select SAP BI Platform From Repository and Universe, and click OK.
- Navigate to and select the Universe and Data Set, and click OK. In this procedure, it is the Financials Universes and FN01 data set.
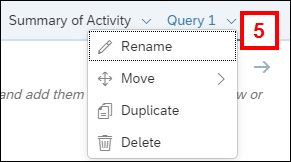
- (Optional) Rename the query by clicking the new Query tab and selecting Rename Query from the drop-down list. Enter a name in the New Value field and click OK.
- Select the Results Objects for your new, filtering query.
- This procedure uses Fiscal Year and Accounting Period from the Rev Exp Act Ledger folder.
- Create a Query Filter by adding Fiscal Year from the Rev Exp Act Ledger folder in the Query Filters section.
- Select Equal to as the operator.
- Select Object from this query from the Define Filter Type
 drop-down list.
- For more information on report objects, see Using Report Objects in Query Filters.
- Select Current Fiscal Year from the Report Objects folder and click OK.
- Repeat step 7-10 to create a Query Filter on Accounting Period, using the Previous Accounting Period report object.
- Click Apply Changes and Close at the bottom of the Query Panel.
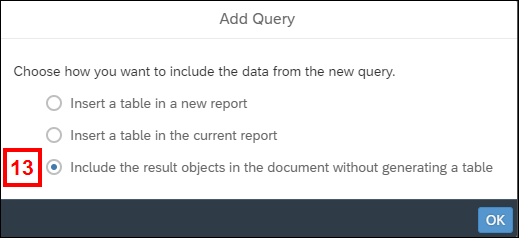
- Check the Include the result objects in the document without generating a table radio button on the Add Query dialog box and click OK.

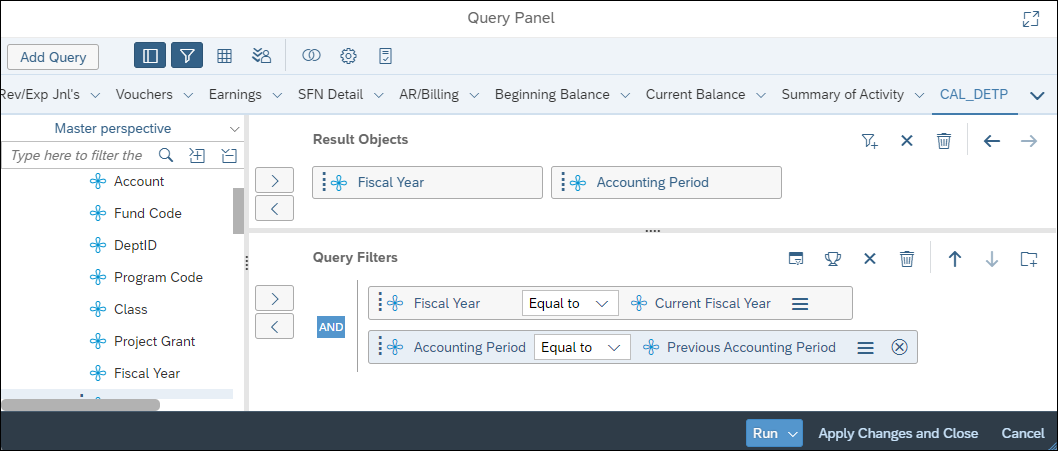
The screenshot above shows how the Query Panel looks after following all instructions to this point.
Reference the New Filtering Query with Query on Query
The next step is to modify the original report queries to reference the new filtering query, using the Query on Query function.
- Click Edit to return to the Query Panel.
- Navigate to the first query that prompts for Fiscal Year and Accounting Period.
- Click Define Filter Type on the prompt for Fiscal Year.
- Select Result from another query (Any) from the drop-down list.
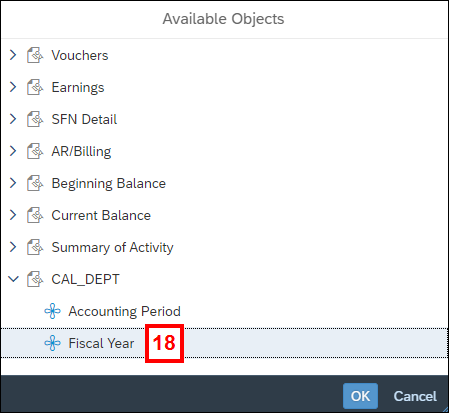
- Open the filtering query and select Fiscal Year in the Available Objects window and click OK.
- Repeat steps 16-18 for the Accounting Period filter, selecing Accounting Period in step 18.
- Repeat steps 15-19 in all queries that prompt for Fiscal Year and Accounting Period, including combined queries.
- Click Apply Changes and Close.
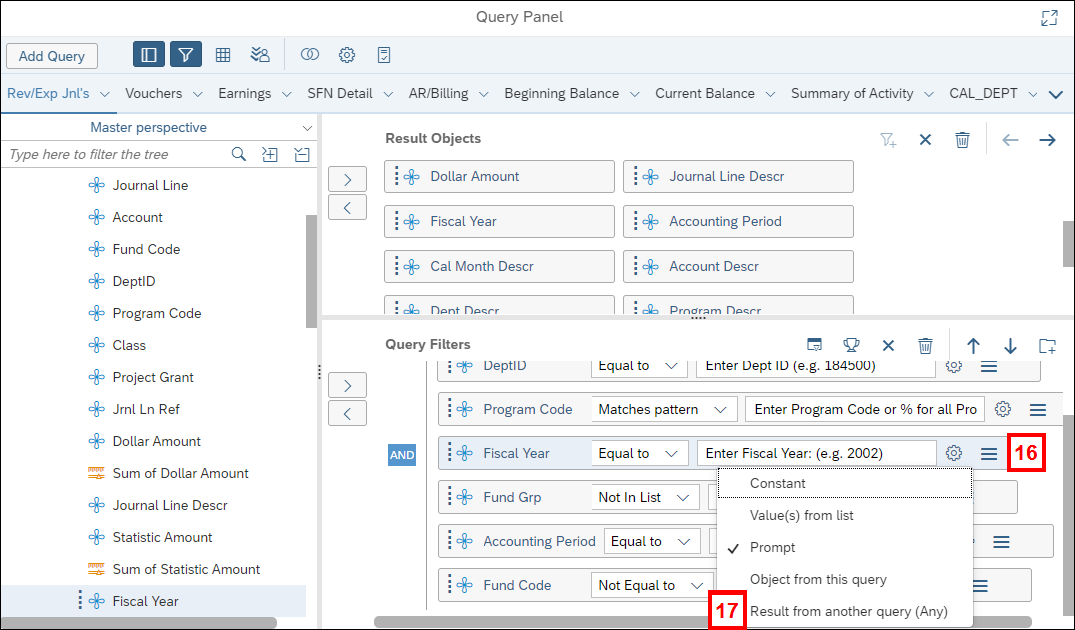

The screenshot above shows how the Query Filters section looks after following the steps in this section to this point.
Use the Calendar to Schedule Recurring Reports
After saving the report, the final step is to use the calendar to schedule it.
- Locate the report in the folder where you saved it.
- Right-click the report title and select Schedule.
- You can also access Schedule by clicking the three-dot More menu at the end of the report row.
- In the Recurrence section, select Calendar from the Run Report drop-down list.
- Select Month End Close from the Calendar Name drop-down list.
- Enter the time of day you want the report to run each month by clicking in the Start Date field and changing the time, or clicking the Calendar icon in the Start Date field, adjusting the time and clicking OK.
- The load of the data from the closed month is generally finished by 6 a.m. on the day after the month closes. To ensure that the load is finished, ITS recommends selecting 8 a.m. or later.
- The End Date defaults to 10 years from now. You can change this field, if needed.
- Complete the remaining Schedule setup. See BusinessObjects: Schedule a Report for complete instructions.
- Click Schedule.

Notes:
- Any query filters on Fiscal Year that use Current Fiscal Year need to be edited and scheduled separately to retrieve June data, because the Current Fiscal Year does not work properly in July.
- The Month End Close calendar does not include a date in July because of year-end activities.