Overview
Important Information
Use the Query Viewer reporting tool to run pre-defined (public) queries only.
Navigation
Main Menu > Reporting Tools > Query > Query Viewer
Step-by-Step Process
- Enter your desired search criteria in the begins with field.
Notes:- The Search By drop-down defaults to Query Name. You can change it to search for queries based on other values (e.g., Access Group Name, Description)
- Query Name - Most public query names begin with "M_" followed by a two-character abbreviation of the module (e.g., Accounts Payable queries begin with M_AP, Student Financials queries begin with M_SF). The exception is that most Time and Labor queries begin with MTL_.
- The Advanced Search link allows you to perform a more comprehensive search using these additional conditions: <, <=, =, >=, begins with, between, contains, in, and/or not=.
- Click
 .
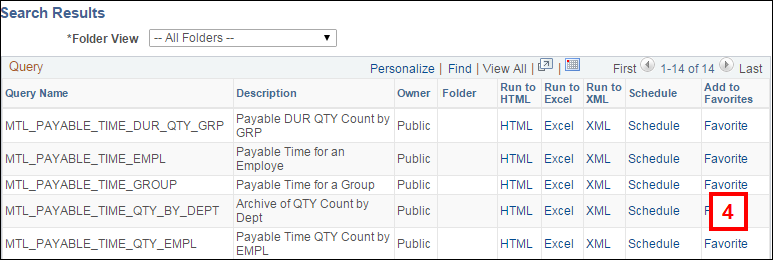
. - Review search results to locate the desired query.
- If desired, click Favorite from the Add to Favorites column to add a specific query to your My Favorite Queries list.
- To remove a specific query from your favorite queries list, click Remove
 , or click
  to remove all queries from the list.

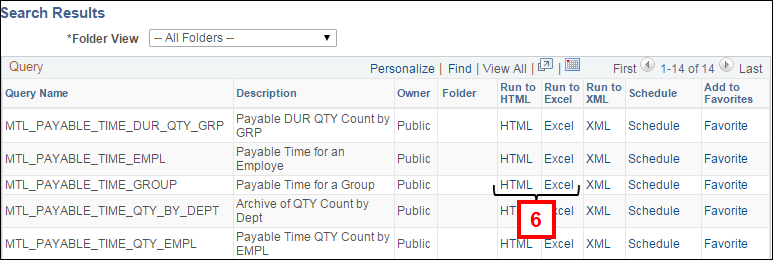
- To run the query, click HTML to generate the results in HTML format in a browser window, or click Excel to download the results directly to Microsoft Excel.
- HTML (Hyper Text Markup Language) is designed to display data with a focus on how data looks.
- The Run to XML option is not recommended. XML (Extensible Markup Language) is not designed to display data.
- A new browser window opens when you select either the Run to HTML, Run to Excel, or Run to XML option.
- If necessary, complete the applicable report prompts.
Note: If you are prompted for a Date Time value, use the format in this example: 11/04/2011 12:00:00PM - Click
 to run the report and download the report to Excel or to an HTML page.
Notes:

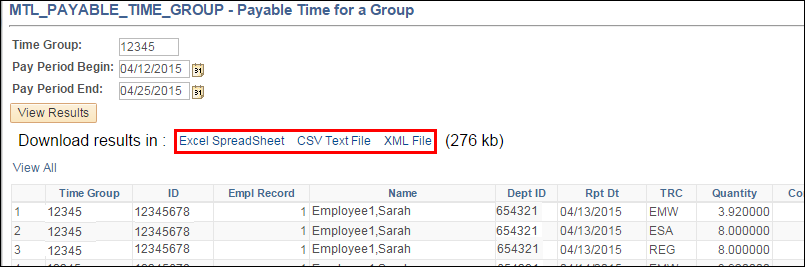
Note: If viewing results in a HTML page, you have the option to download the query results to Excel Spreadsheet, CSV Text file, or XML File format. Alternatively, use your browser's print functionality to print your results.
Screenshot of HTML page with download links