Overview
Knowledge articles need to be findable, useful, accurate, and sufficient to solve an issue or answer a question. Knowledge can be created directly in the knowledge base or from an incident.
There are two points in time when knowledge is created:
- When a solution to the question or issue a customer is having does not exist in the knowledge base, and you have resolved their issue.
- When you believe you have knowledge that benefits customers and/or your peers, but does not exist in the knowledge base.
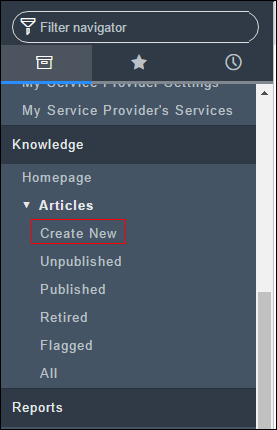
Create an Article from the Knowledge Base
- Click Create New in the Knowledge Base application.
- Go to the Complete the Knowledge Form Fields to continue creating the article.
Create an Article from an Incident
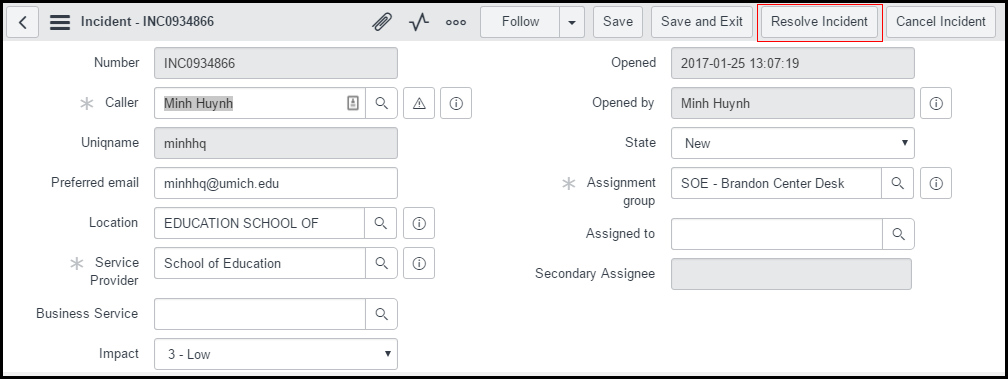
Knowledge is generally created when resolving an incident. At that point, there is complete information about the issue and its resolution to form a full article.
- Click Resolve Incident.
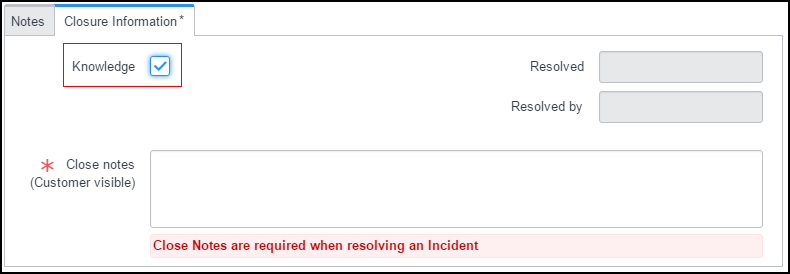
- Check the Knowledge box.
- Complete the Close code, Resolution category, Close notes, and any other applicable incident fields.
- Right-click on the title bar and select Save from the drop-down menu.
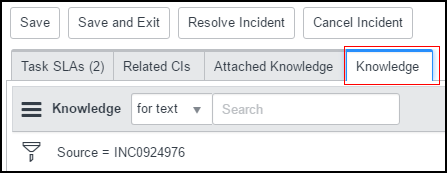
- Click the Knowledge tab.
- Click the knowledge article Number.
- Go to the Complete the Knowledge Form Fields to continue creating the article.
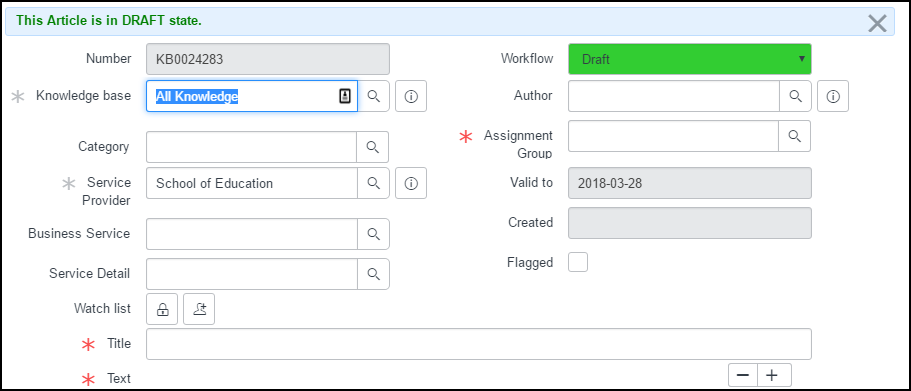
Complete the Knowledge Form Fields
Information defaults into many fields on the knowledge form and should only be edited if necessary.
- Type the appropriate title in the Title field.The title should be meaningful and use customer language.
- (optional) Select the applicable Category from the drop-down menu.
- If the knowledge article is related to a specific service, enter the service in the Business Service field.
- The Published, Valid to and Updated dates fill in automatically. The Published date is the date the article was created. The Valid to date defaults to one year from the creation date. If the article reaches the Valid to date, it triggers the review process. Editing the article resets this date. The Updated date defaults to the creation date and is updated each time the article is edited.
- Select the group responsible for maintaining the article from the Assignment group drop-down menu.
- (optional) Click Add me in the Watch list field to receive notifications regarding this article.
- Article type: All articles are in HTML format.
- Workflow: All articles are set to Draft.
- Source: If the article was created from an Incident or Problem, the ticket number is listed in this field.
- Author: The article creator is listed as the author.
- (optional) Check the Display attachments box if there are attachments to your article you want listed in the article for users to access.
- Enter the appropriate information in the Text field. The information should be meaningful and use customer language.
Notes:
Note: The following fields are completed by default: