Overview
Uploading new media is the first step in publishing your videos, audio files, and images. This document provides the steps to upload videos, images, or audio and enter basic metadata. Be sure you check out the advanced editing documentation which covers ways to manage interactivity and enhance your content.
Before You Begin
Mediaspace Users: You need a Mediaspace site with a role of privateOnly or greater.
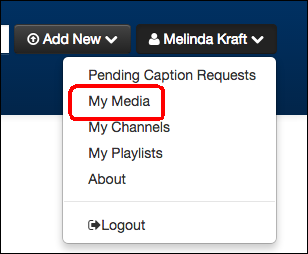
Look for “My Media” in the drop-down list under your name. This means you are able to upload media.
View drop-down menu screenshot
Canvas and Blackboard users: You need a course site with Media Gallery/My Media enabled and the My Media upload role.
You also need media files to upload (videos, images, or audio files)
Step-by-Step Process
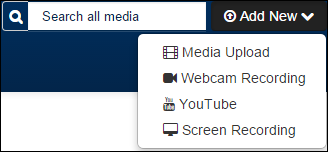
- Select Media Upload from the Add New menu.
- Mediaspace: located in the site header or under Add Media on a channel or category page.
- Canvas/Blackboard: located in My Media or under Add Media in the course Media Gallery.
view Add New drop-down list screenshot

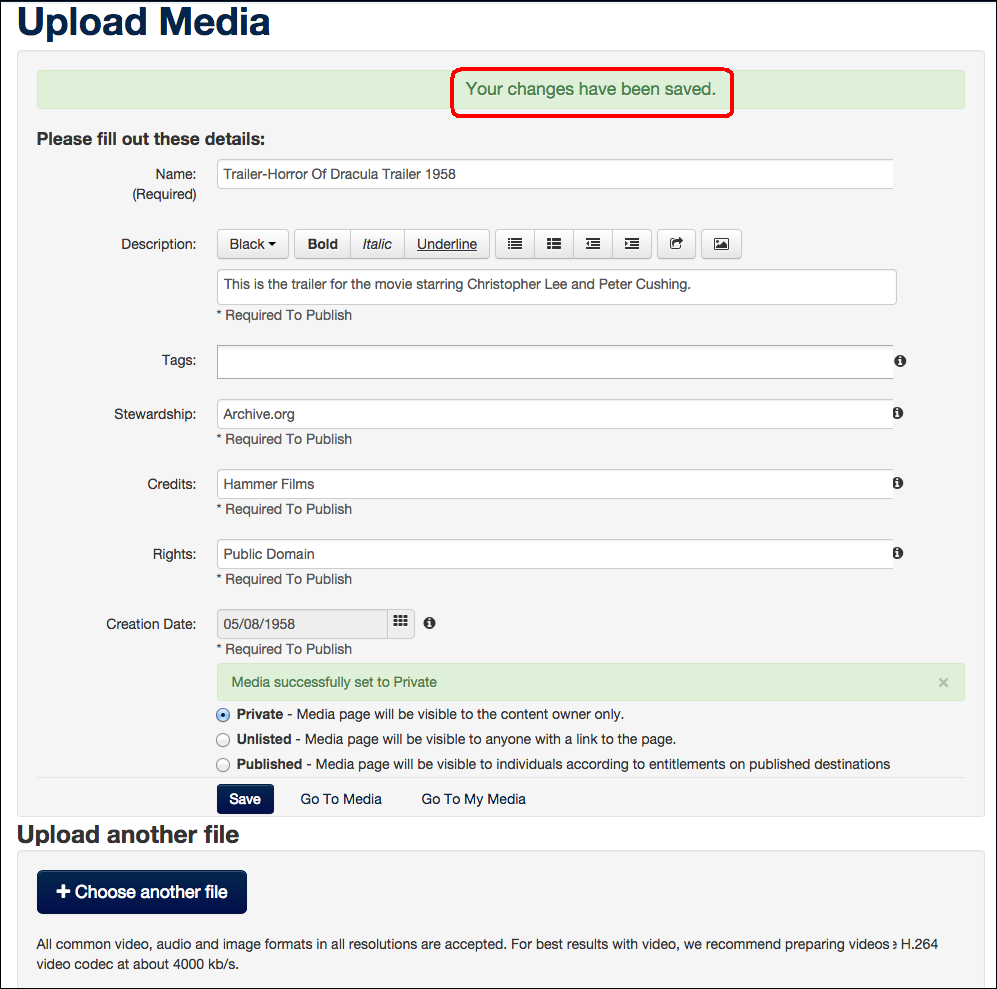
- Click Choose a file to upload and select your file.
- Enter the title, description, required metadata, and then click Save.
- Stewardship: Division/unit/department/person taking responsibility for maintenance and decision-making in the absence of the Depositor.
- Rights: Who owns the rights to the content of this object? Who can watch, edit, reuse it? How can it be used? May also specify who to contact for copyright information, reuse rights, etc.
- Credits: Who participated in the creation of this object? Can be behind the scenes, on camera, contributory works including music.
- Creation Date: The date the content was first embodied in a digital file
- When the upload is complete, two links appear near the Save button:
- Go to My Media - My Media is covered in another tutorial
- Go to Media - click Go To Media to view your uploaded media on the Media Page.
: If you are logged in and cannot find the Add New button you may not have the necessary upload rights, or your site is using a special layout. Contact your site or course administrator for help
WARNING: Do not leave the page until the blue upload bar turns to green and you get a success message.
: You may see some publish options at the bottom of the page depending on your site’s configuration. These are covered in the publishing documentation.
Required Metadata:
: There is an upload button at the bottom of the page to add another file.
: You can upload files and save metadata on the same page, but be careful to make sure all the upload bars have turned green before navigating away.
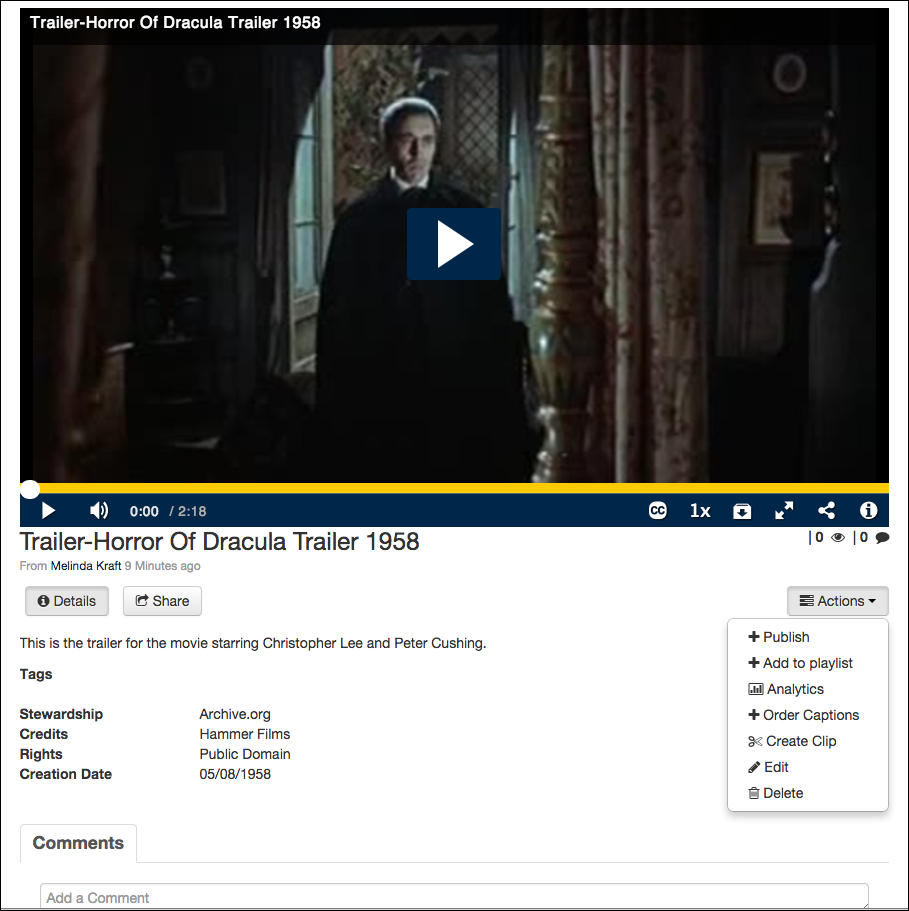
About the Media Page
The Media page doesn’t necessarily mean your media is published so other users can see it, but it does allow you to see what that page will look like to visitors. For more about publishing, see the publishing documentation. The Media page also provides a route to all of the available edit, publish, and analytics features via the Actions button. To learn more about these features, check out the editing and advanced editing documentation
view the media page screenshot
Related
- Working with Media in "My Media"
- Editing Media - Metadata and Introduction to Advanced Editing Tools